Components
Adding Components
Component are small parts of content that can be placed on parts of the template of a Masa CMS Page. Their power lies in their re-usability; a single component can be used numerous of times. For example; a component that resembles a banner can be placed on multiple templates on your site. When this banner component is updated, then automatically the banner is updated on the whole site.
You can add a component as follow:
-
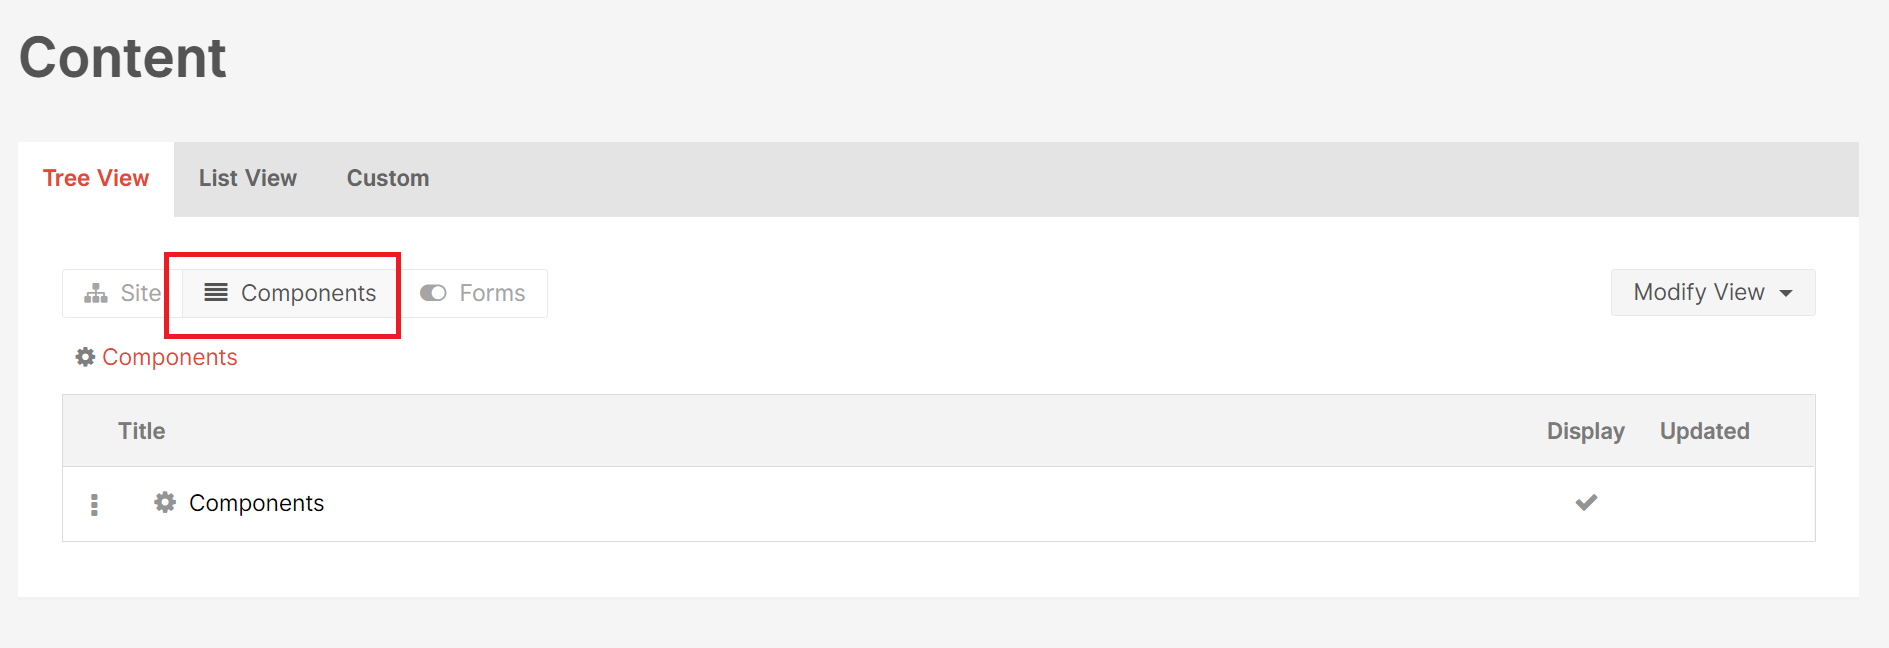
Goto the overview of content. Select ‘Component’. An overview of components is shown.
-
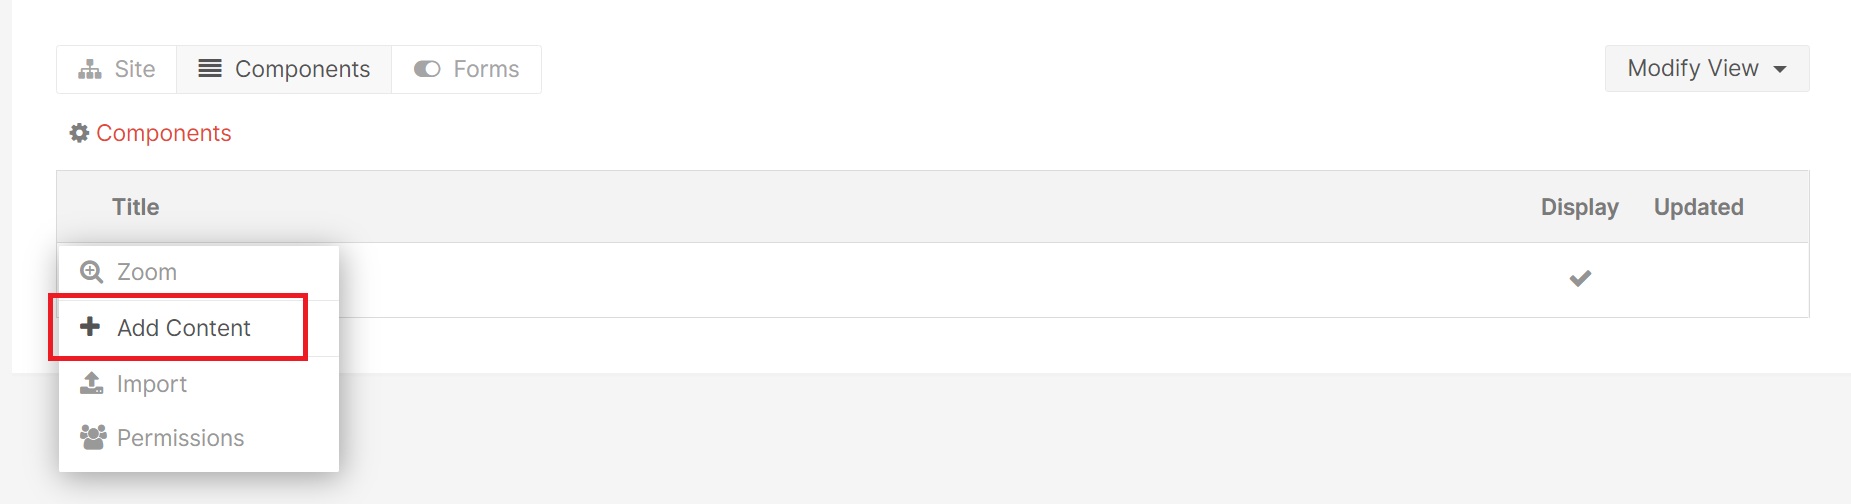
Click on the three dots next to components.

-
A menu now opens; click ‘Add Content’.
-
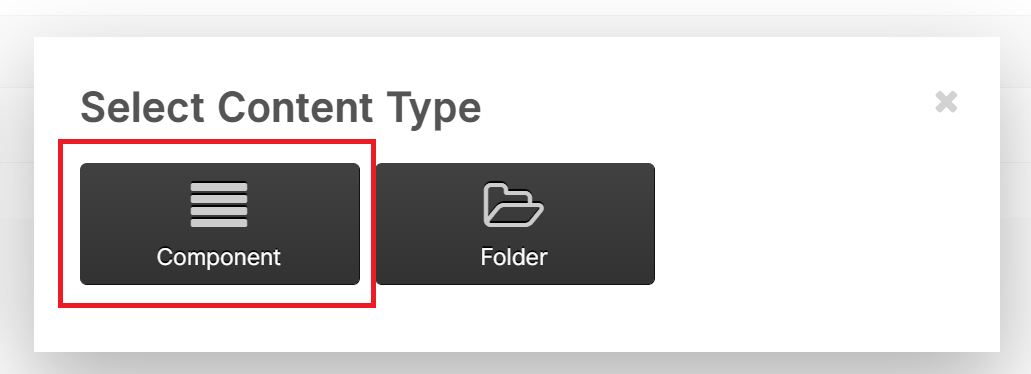
A modal now opens with two options: ‘Component’ and ‘Folder’. The option ‘Folder’ allows you to organise components into a folder structure. Choose the option ‘Component’.
-
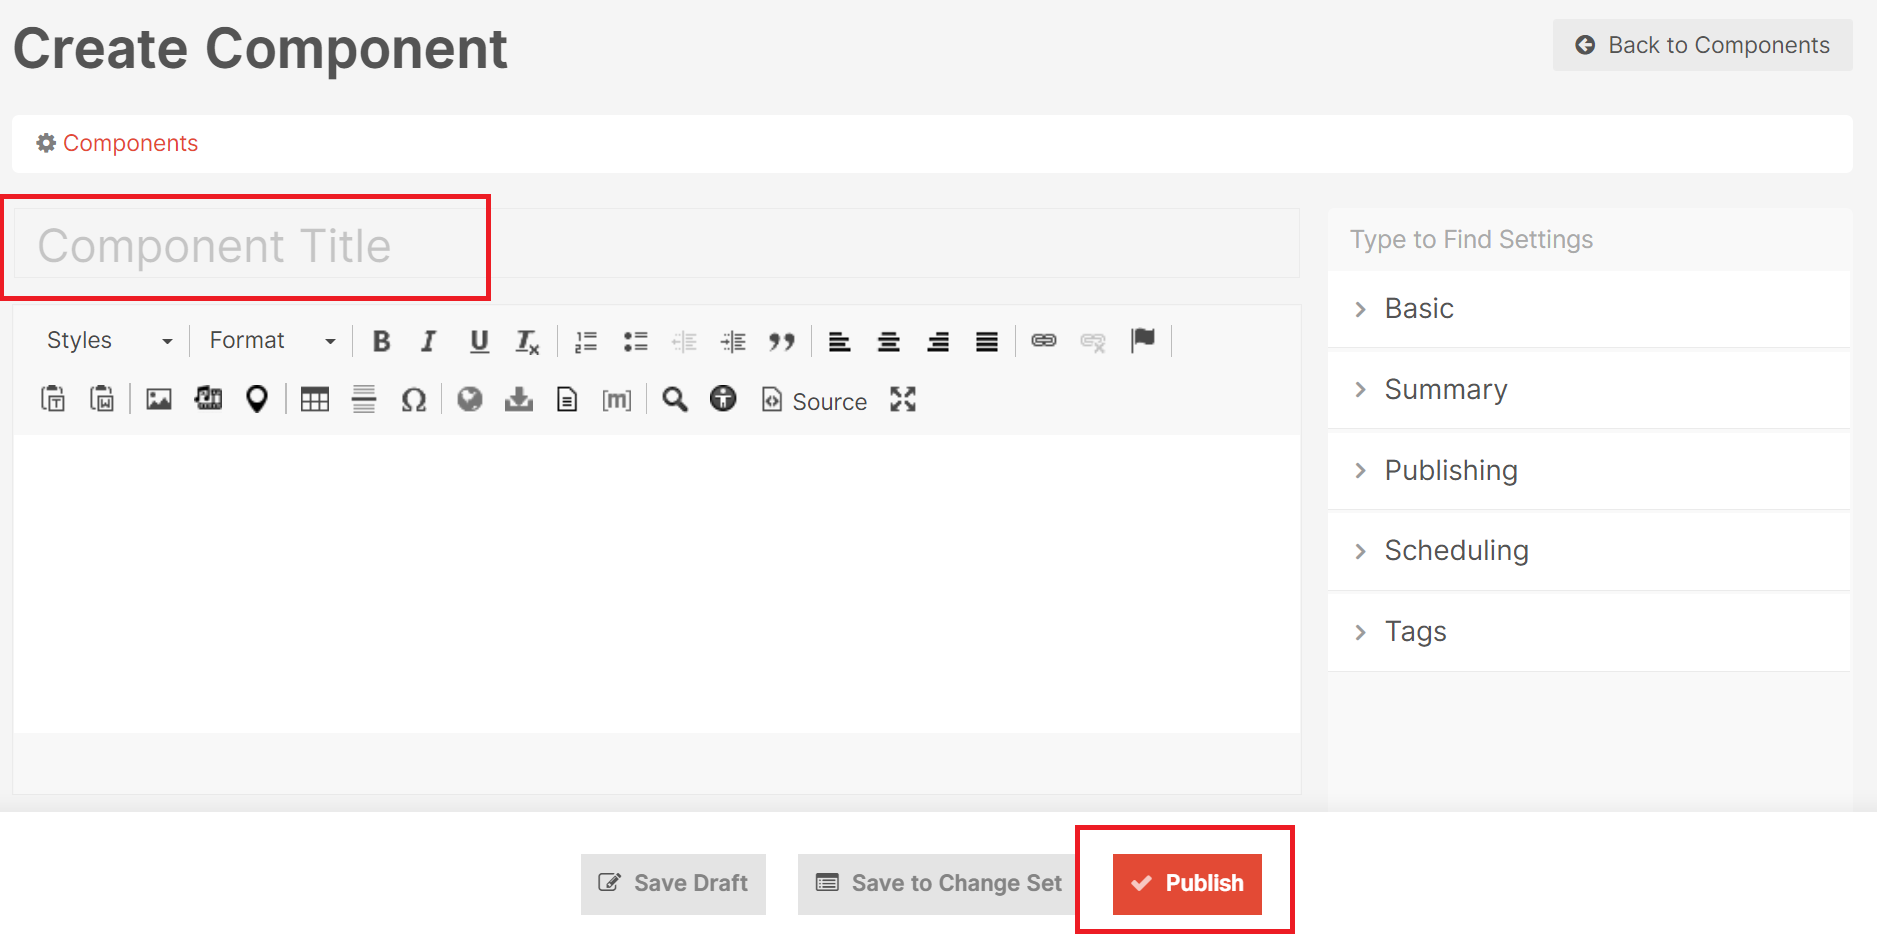
A form ‘Create Component’ for a new component now opens. Fil in the field ‘Component Title’ with the name of your new cmponent and click on the button ‘Publish’ on the bottom of the page.
-
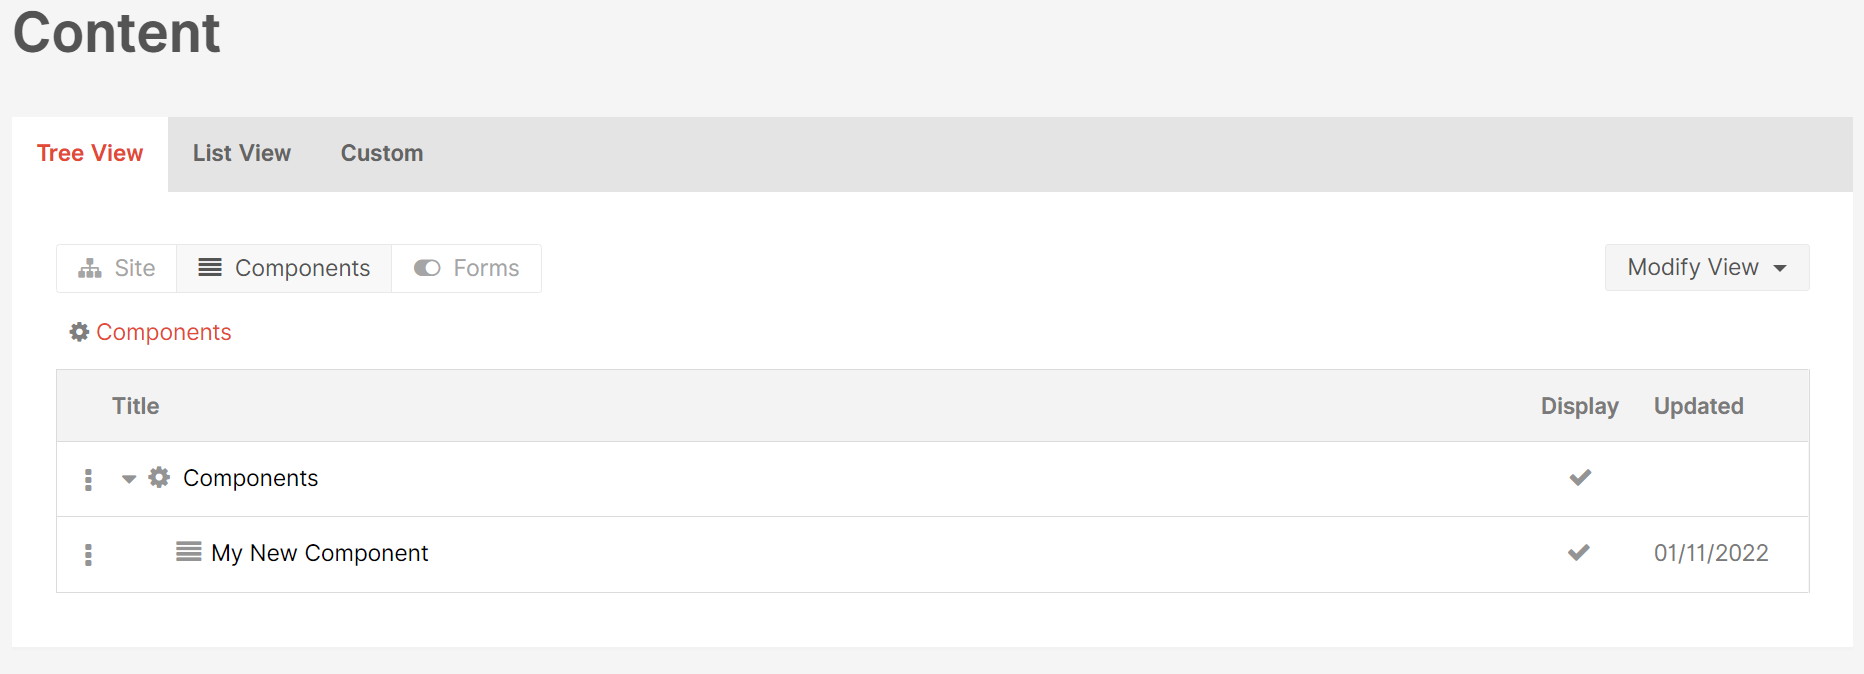
A new component is now added to your site as you can see in the overview of components:
Editing Components
In the overview of component, you can edit Components in a very simple way.
-
Simple select the row in the component overview that you want to edit. The selected row is coloured grey.

-
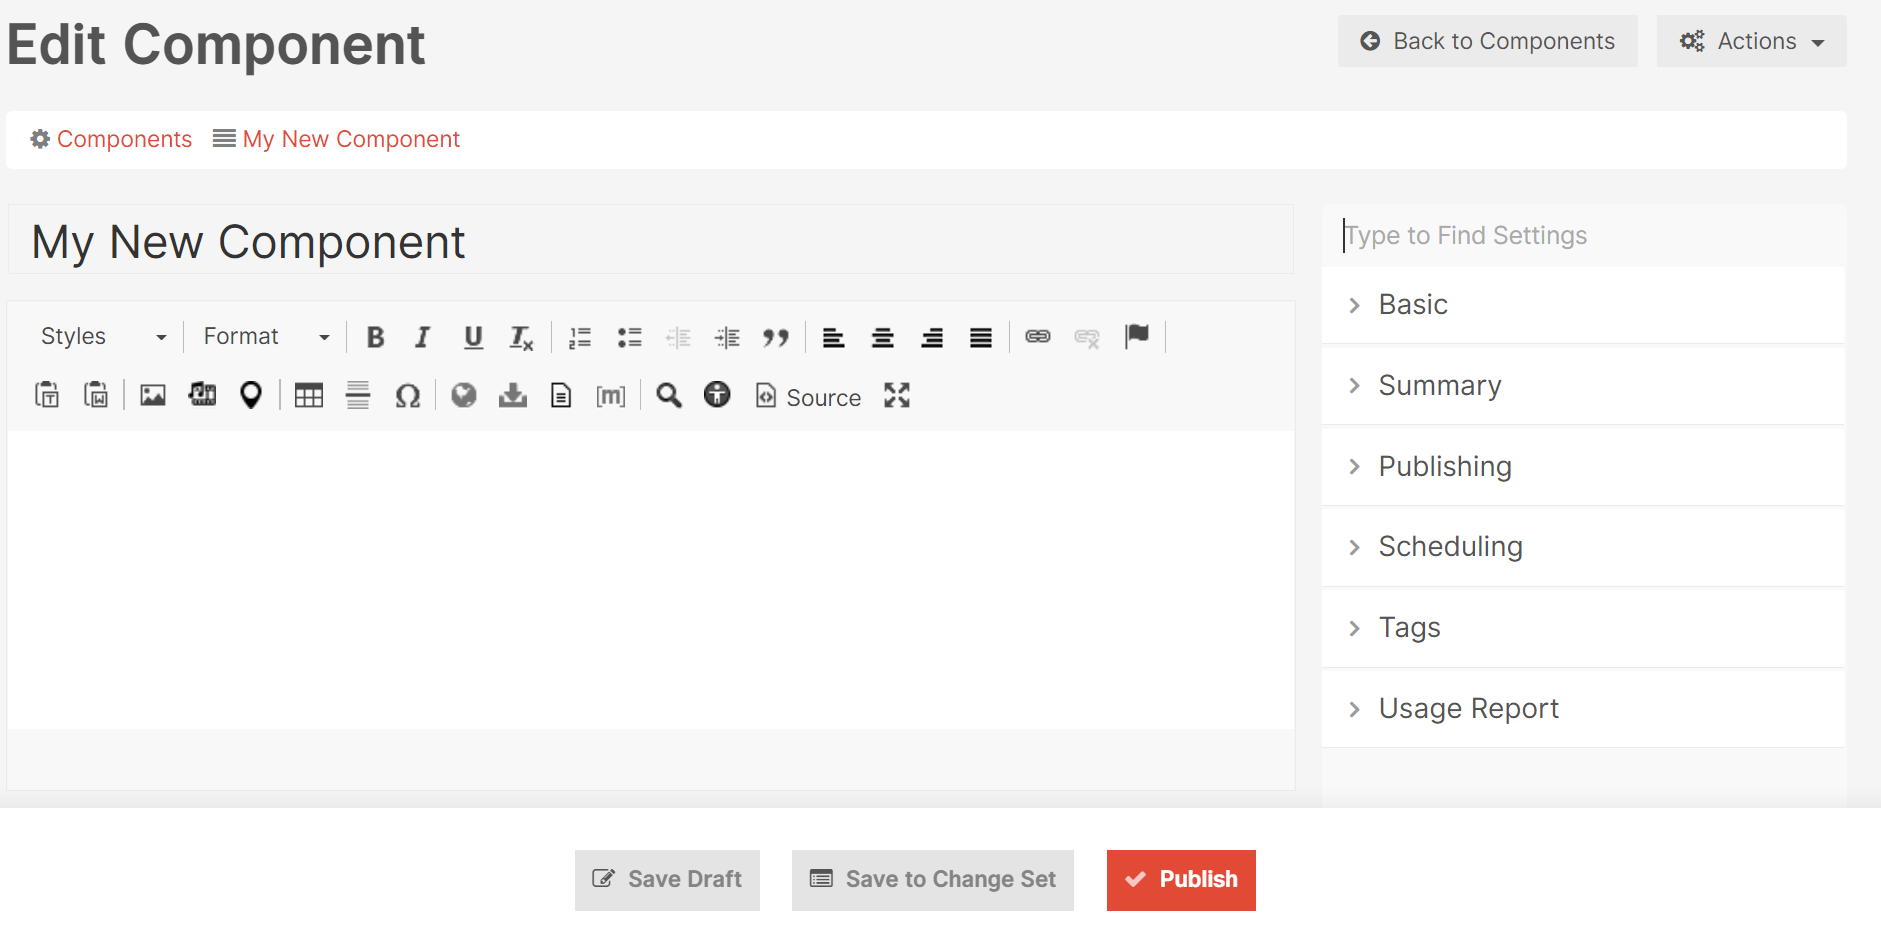
Click on the selected row. The detail of the Component are now shown. You can edit the text of the Component. You can also search for settings in the top right in the input field ‘Type to Find Settings’.
-
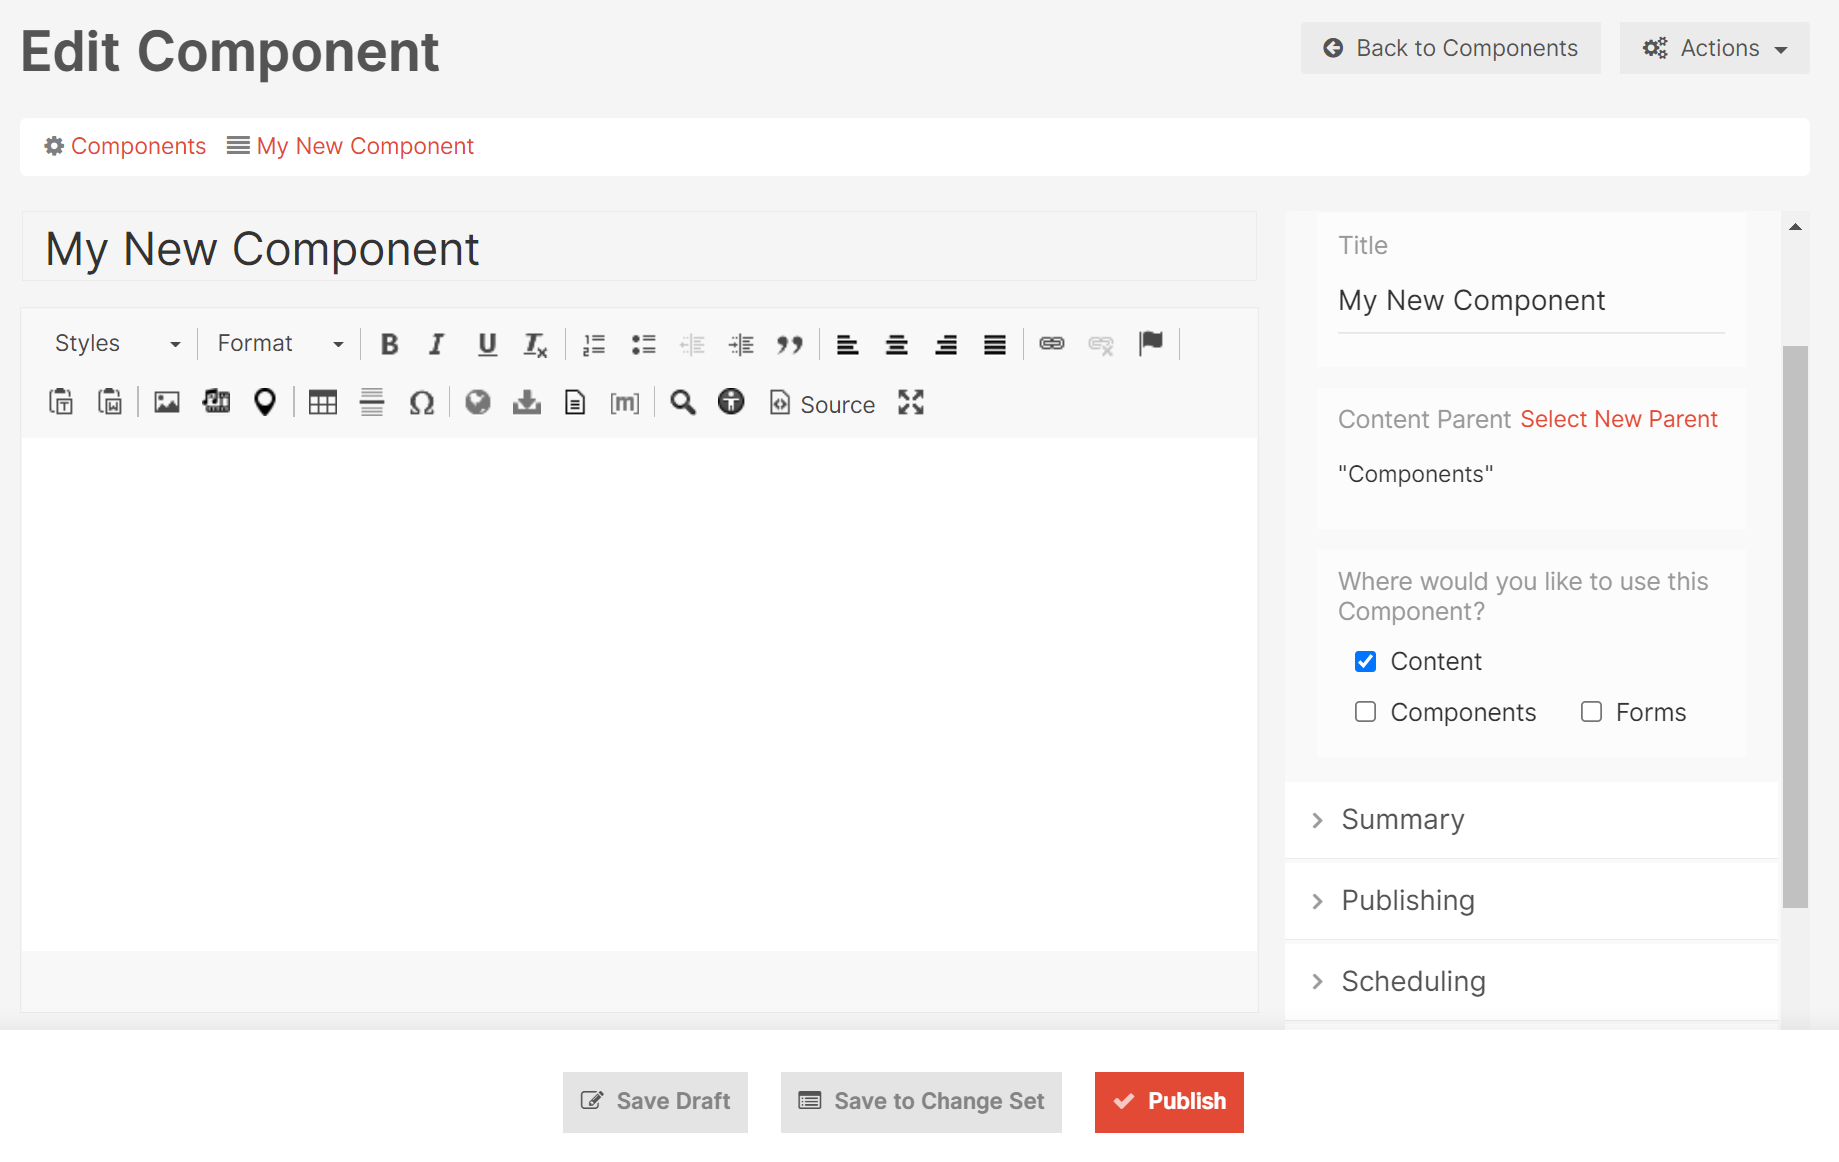
On the right side is a menu with different settings. These are grouped in tabs. Click on a setting category to open them.
-
After makeing changes, click on the button ‘Publish’ to save your work.